Since the weather is uncontrollable, sun drying can be risky. Paint made from oil takes a.
White Painted Pumpkin Diy - Stonegable
Continue around the entire stem gluing the strips of sisal.

How to make paint on a pumpkin dry faster. This should take 20 to 30 minutes. Choose a dry area with good airflow that maintains temperatures between 45 and 60 degrees fahrenheit. After this step, you can also apply a thin layer of matte acrylic sealer on top to protect them further.
For patterned and splattered paint. Removing the stem from the pumpkin. She says it dries quickly, is easy to use, and is easy to clean up.
The additional heat will help the paint dry quicker. Separate the twisted rope into individual pieces or twists of two or three coils. Your paint will likely drip and pool up under the pumpkins, and the newspapers will soak up the paint and stick to your pumpkins!
Dry brushing paint to make pumpkins look real is hard on brushes so again use chip brushes. Using a foam brush and applying the paint as a series of washes or multiple thin layers also helps them dry more quickly. Store the dried pumpkins in a basement, attic or garage;
Sprinkle glitter on wet paint to add sparkle. This means you can speed up curing time by increasing the amount of available oxygen. If you’re applying a number of layers of paint or stencil on top of painted pumpkins, make sure you leave it dry somewhere protected from the wind that might blow mess on your drying paint.
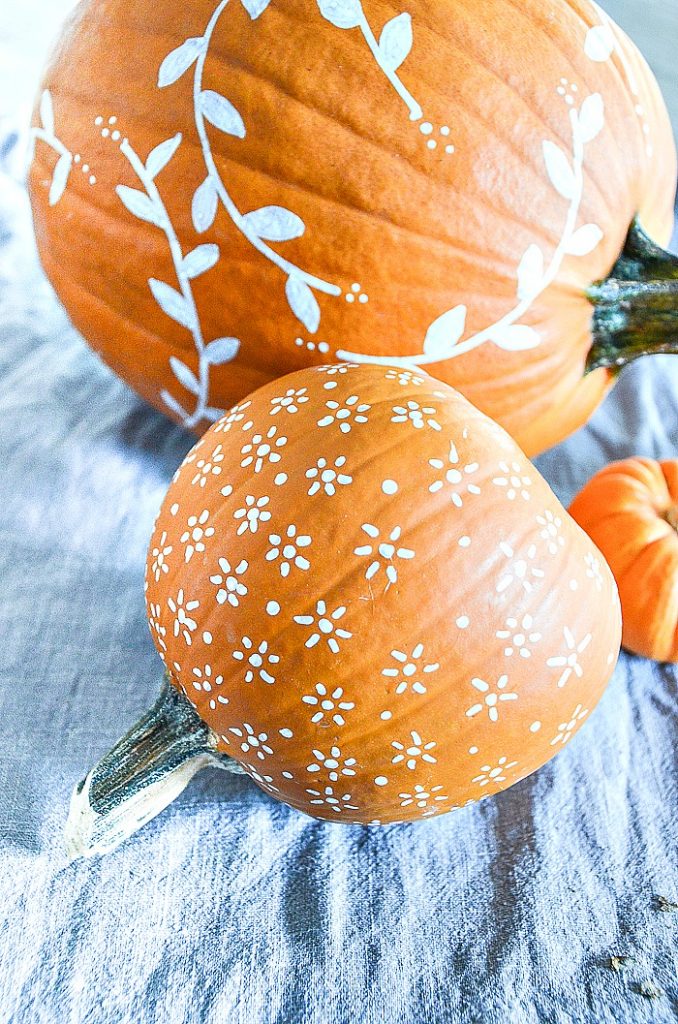
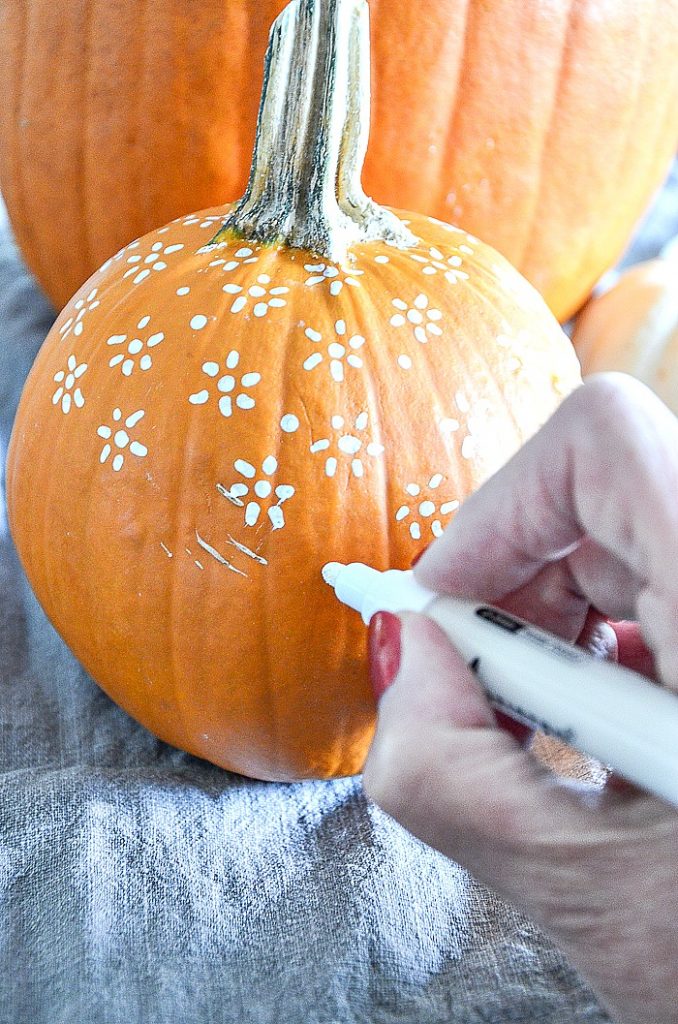
To make the stem all you need to have is sisal rope, hot glue, cinnamon, and mod podge. Tip #1 | make sure to always press lightly with the pen or it could scrape off the paint from the pumpkin. Because milk paint flows, if you set your laid down pumpkin up for a few minutes or turn upside down, it will start to drip slowly down the pumpkin.
Make a homemade disinfectant with one part bleach to ten parts water. Fray the ends and attach them onto the stem of the pumpkin with your hot glue gun. When drying outside, dry in the sun so the pumpkin dries quickly.
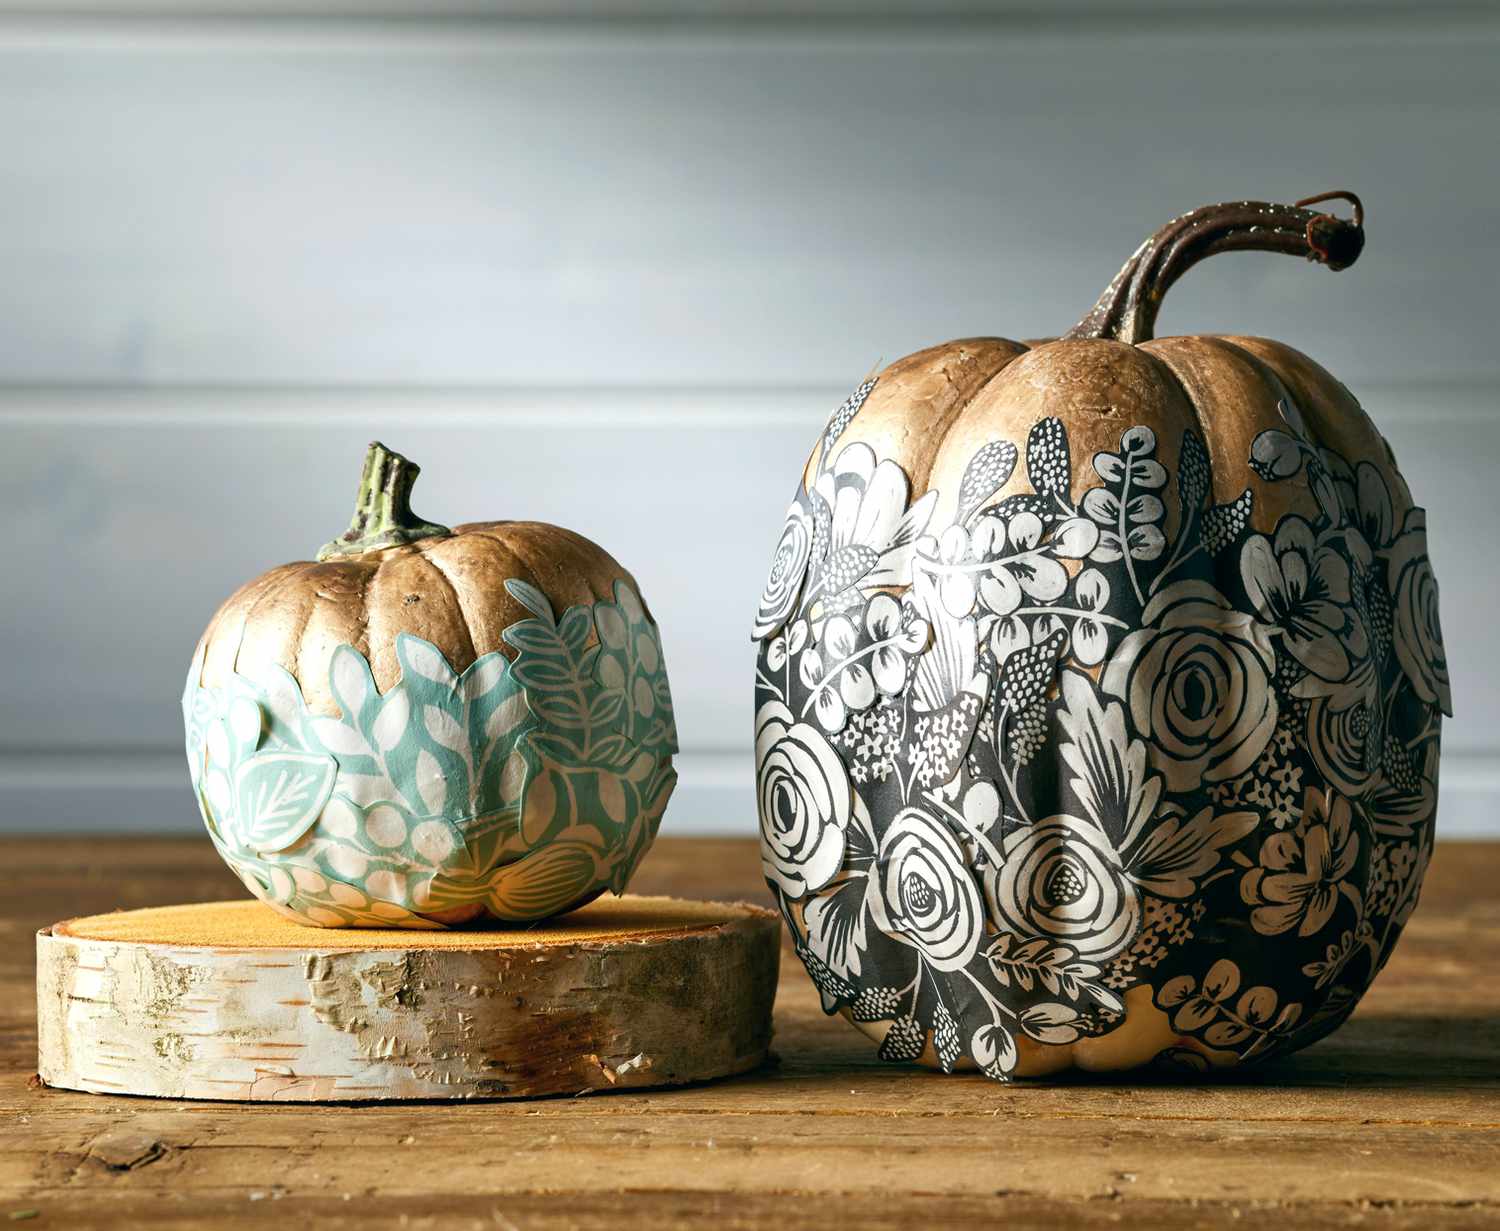
This is one of the natural methods of fruit and vegetable drying. Once dry, paint a thin layer of decoupage medium over the top to protect the surface of the flowers. Tip #2 | if you’re using a paint pen, remember to keep it wet.i continually pressed the pen down on a pad of paper after a couple seconds of decorating my pumpkin.
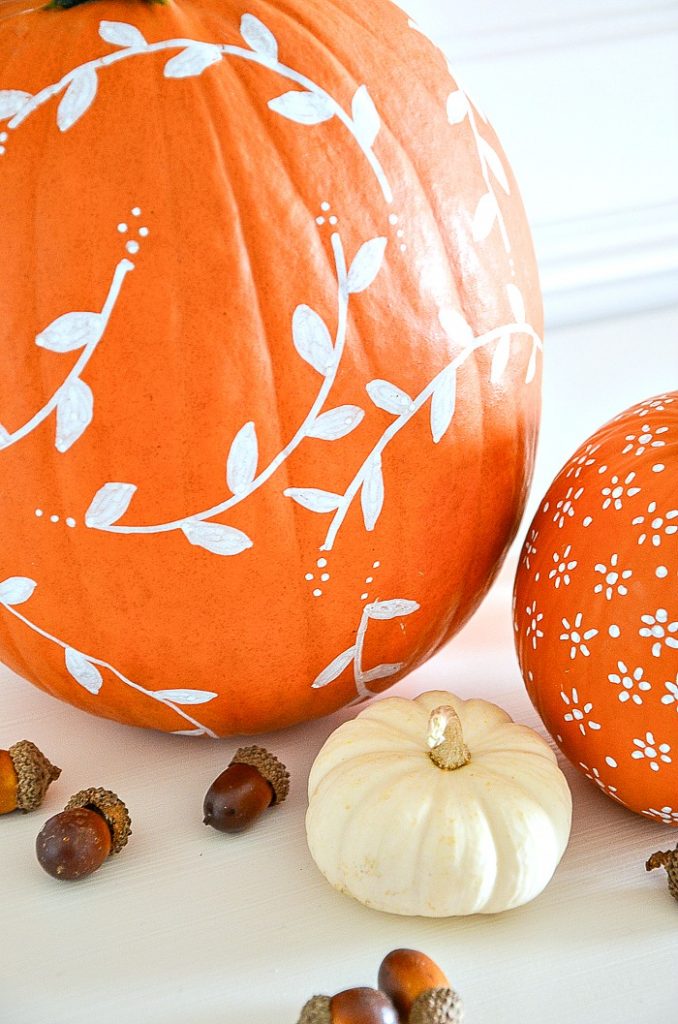
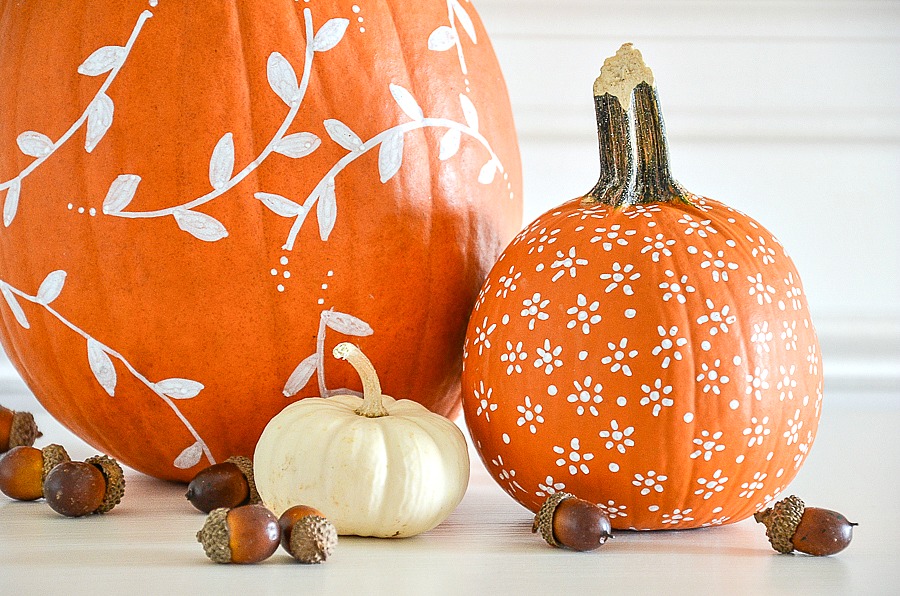
In this example, the blue leaves and pink polka dots are made from vinyl! Choose your pumpkins, wipe them down with a damp paper towel to remove dirt and debris, and pat them dry. Place a clean cloth on a drying tray.
You can easily control the pattern by moving it around and then laying it back down to dry when you want it to stop. Here, you want your brush fairly dry. Spread an even layer across the entire surface of the pumpkin and let it dry completely.
If you're painting a huge pumpkin, use a larger paintbrush so you can prime it faster. They are great for small designs and painting facial features. Then, arrange the pumpkin slices on the tray.
Using glue dots, a glue gun or craft glue, add googly eyes, sequins,. Store them at 50 to 55 degrees f with a relative humidity level no higher than 50 to 70 percent. They dry quickly and adhere really well to the skin of the pumpkin. thomas also recommends paint pens for complex images.
Alternatively, run a space heater near the object you’ve painted. Your paintwork should dry almost immediately after you do this. Fill in any light spots after the pumpkin layers have completely dried.
Glue yarn or raffia around the stem of the pumpkin for hair. Gather the supplies listed here. You can create clean, crisp lines with the pens and do some nice detail work, says thomas.
If you're making dipped pumpkins, set the drying rack over a piece of wax paper. During the paint curing process, the molecules interlink to form a solid membrane, and they need oxygen for this. Make sure all of the stem is removed from the pumpkin.
This is important when dry brushing. It takes about three layers of paint to make the lettering filled in. Wait for the pumpkin to dry and then add a variety of fun adornments to your creation.
Basically something that won’t absorb liquid! Next, using a paper plate, paper towel or a rag, dab the excess paint off. If your pumpkin has a stem, grab a knife and get underneath the stem of the pumpkin and start prying the stem up.
Another option would be to paint the whole pumpkin white with. So next, begin to apply chalk paint to the pumpkin. Leave plenty of space between them to allow for good air circulation.
If you want to have these outside, use a heavy epoxy. Set your decorative pumpkins on a wooden pallet in a cool, dry spot out of direct sunlight. They add such pretty whimsy to the pumpkins!
Cut some small strips of the sisal. Perhaps the easiest way to get good end results from painting a pumpkin is to cover up any imperfections with embellishments like sequins or buttons. Posted with permission by the country chic cottage.
Tip #3 | start at the top of the pumpkin, letting the design dry as you work your way down the pumpkin. All you have to do is basically cover the whole pumpkin in white paint (or dip it in the paint entirely since that’s faster), and then just simply add some decorative elements, like painted eyes and a mouth, or you can even use googly eyes as they did in the example above so that your ghosts will actually look cute. You can also try painting outside at the beginning of a warm, dry day, since the humidity will be low.
Let that layer dry, and reapply if needed. It's safer to use fans during the curing process than it is to speed up drying, because the painted surface is hard and won't collect dust.
White Painted Pumpkin Diy - Stonegable

Art Projects For Kids--what You Can Do With Orange Tape Halloween Pumpkins Pumpkin Decorating Halloween Crafts
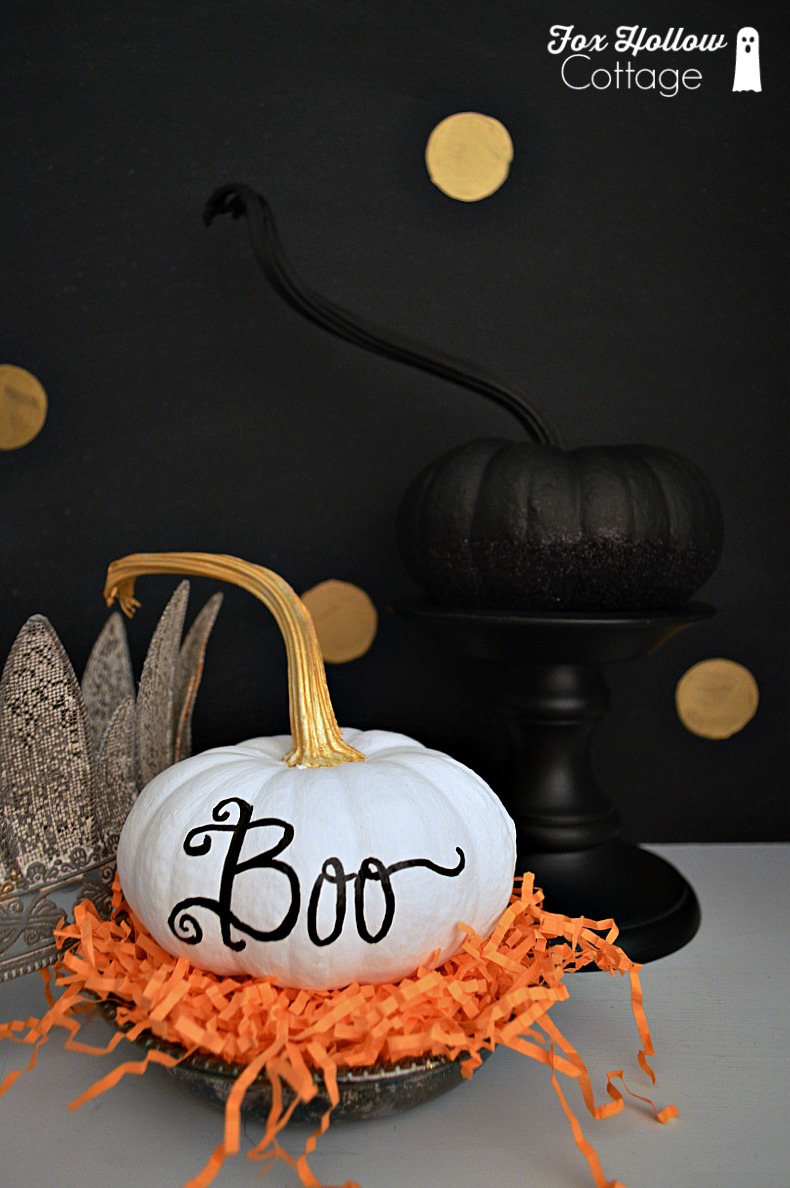
Painted Pumpkins Plus Tips For Great Results - Fox Hollow Cottage

Pin On Autumn

75 No Carve Diy Halloween Pumpkin Decorating Ideas The Ultimate Roundup Pumpkin Halloween Decorations Halloween Pumpkins Easy Halloween Decorations
White Painted Pumpkin Diy - Stonegable

White Painted Pumpkin Diy - Stonegable
Easy No-carve Halloween Pumpkins Better Homes Gardens

49 Easy Pumpkin Painting Ideas To Try This Year Pumpkin Decorating Pumpkin Decorating Projects No Carve Pumpkin Decorating

Verwandeln Sie Schaumkuerbisse Aus Dem Dollargeschaeft In Wunderschoene Kuerbisse Aus Quecksilberglas Doll Kuerbisse Diy Und Selbermachen Diy Weihnachtsgeschenke

Pumpkin Orange Deep Space Black Plutonium Paint Plutoniumpaint Twitter Pumpkin Spray Paint Spray Paint Projects Diy Spray Paint

Painted Pumpkins - 30 Easy Projects To Perk Up Your Halloween - Bob Vila
Candy Corn Pumpkin Fast And Easy Way To Decorate A Pumpkin No Carving Needed Easy Pumpkin Decorating No Carve Pumpkin Decorating Pumpkin Decorating Contest

Rose Gold Pumpkins Use Metallic Copper Krylon Spray Paint To Evenly Coat Clean Dry Pumpkins Tape Off Stal Pumpkin Gold Pumpkins Pumpkin Centerpieces Wedding

Sylvester Painted Pumpkins Hand Painted Pumpkin Halloween Pumpkins Carvings

White Painted Pumpkin Diy - Stonegable

A Haunted Home Not So Fast Painted Gourds Hand Painted Gourds Halloween Gourds

How To Paint Pumpkins The Right Way - Scraplifterscom Pumpkin Painting Party Pumpkin Pumpkin Decorating Contest
White Painted Pumpkin Diy - Stonegable